How To Connect Container House
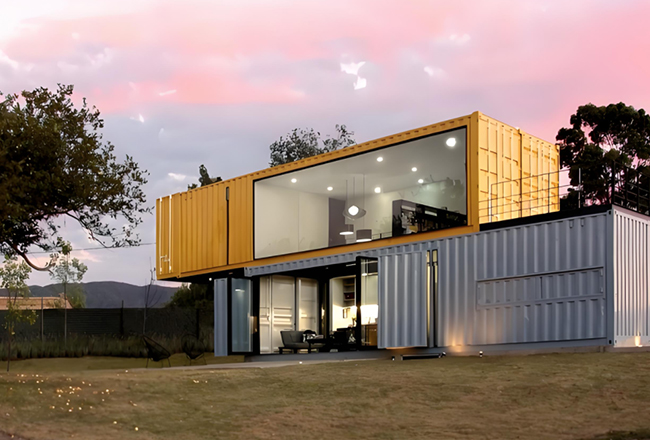
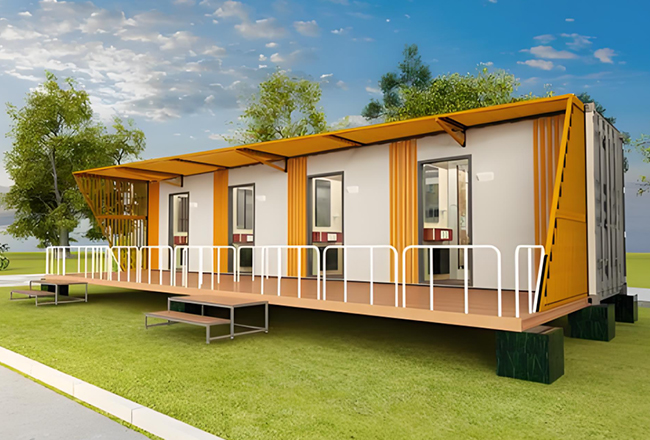
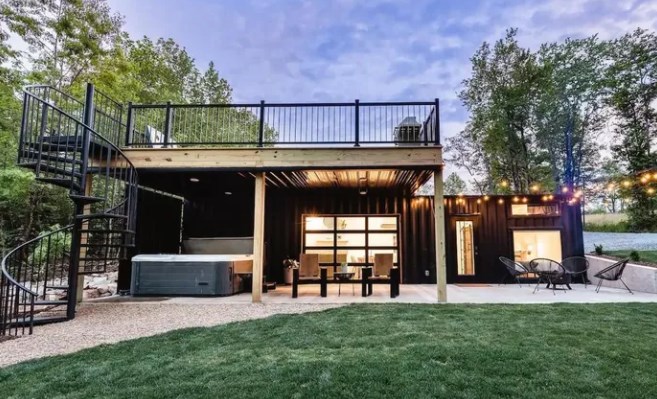
As people continue to pursue quality of life, container houses are gradually emerging as a new way of residential construction. Compared with traditional house construction methods, container houses have the advantages of shorter construction period, lower cost, and flexible design styles. Because containers are fast and convenient to install and are relatively energy-saving, container houses are basically considered when building temporary housing. Especially in some construction sites, containers are often built as offices and accommodations. Although the installation of container houses is much simpler and faster than traditional buildings, for ordinary people, installing container houses is still a brand new field. Many people do not know how to proceed. If the installation method is incorrect, it will greatly affect the performance of the container. Therefore, this article will introduce the installation steps of container houses in detail to help everyone understand the basic structure and installation process of container houses.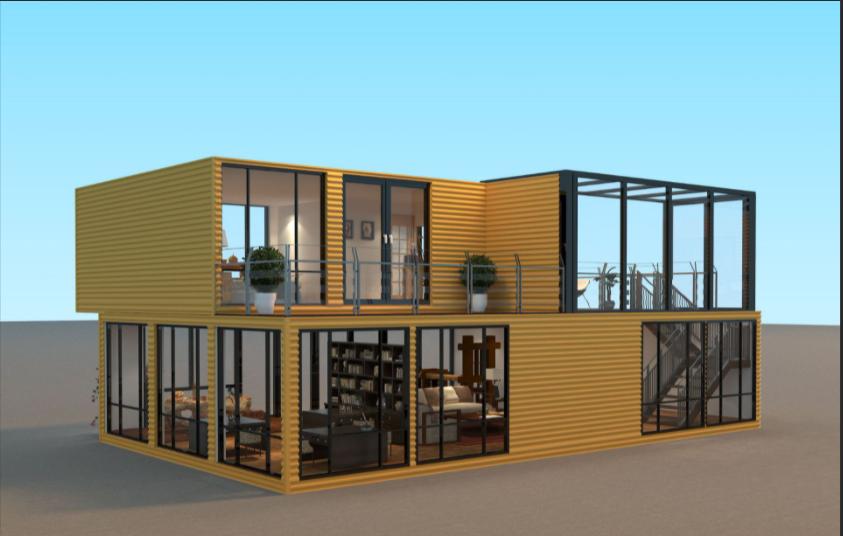
Installation ideas for container houses:
Installing a container house is actually the same as building a house. It involves connecting the surrounding and partition-type vertical pillars, using transverse beams to connect the skeleton together, and then installing door frames, partitions, etc., and then laying the floor. , installation of doors and windows, and installation of various hardware. The overall process is similar to building a house.
In the installation of concealed projects, because the concealed project means that after the construction of the previous project is completed, the next project will cover it up, so it cannot be inspected until it is finally completed. The concealment work of container installation is also very important. If the concealment work is not done well, it will be meaningless no matter how beautiful the outer shell is.
Concealed projects are divided into several aspects: hydropower construction, moisture-proof and waterproof construction, but none of the links should be careless. If there is a problem in a certain link, it is likely to cause certain losses.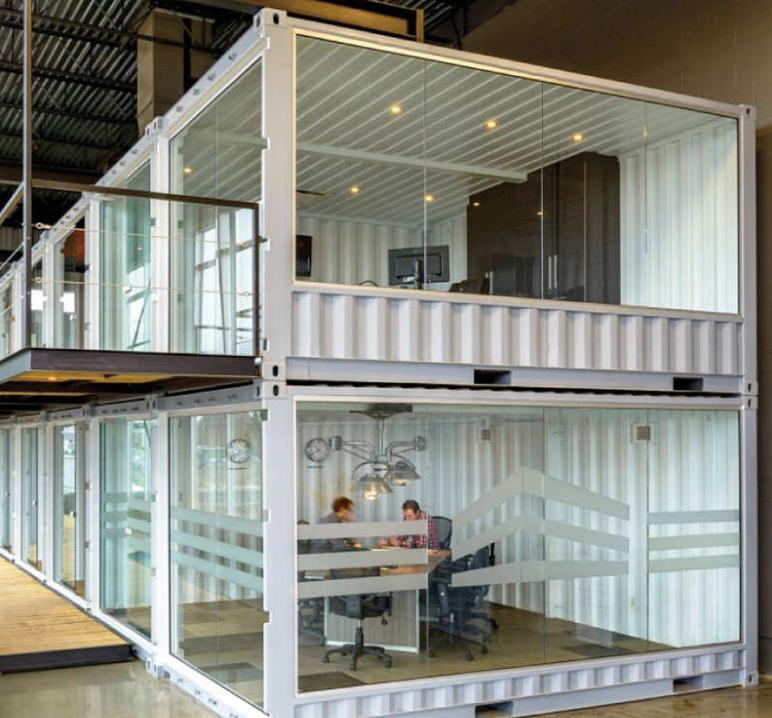
Quality requirements for container houses before installation:
1. Steel components
The surface of the steel structure should be kept clean and free of dust, dirt, oil and other debris. If the coating is damaged during transportation, storage or installation of components, it should be reapplied. Make sure that all connecting nodes are not loose.
2. Wall panels and roof tiles
The roof tiles and wall panels must be clean and flat, the vertical and horizontal overlap joints should be straight, the cornice and the lower end of the wall should be straight, there should be no mistakes in drilling, and the joints should be even and neat, tight and without warping. The gable edge panels and ridge tiles should be straight, reliably fixed, and not loose.
3. Hardware
The hardware should be assembled reliably, and the rotating and sliding parts should not be loose or jammed that would affect the performance. There should be no cracks, mechanical damage, etc. on the surface, and there should be no obvious defects. The paint film coating should not be peeled off. The ends of the nails must be round and smooth, and should not be higher than the surface of the assembly. The rivets should be firm and not loose. Locks, window hooks, and latches should be flexible to open and close.
4. Allowable deviations for door and window installation
The installation of door and window frames should be consistent in height and plane. However, minor deviations are allowed. The connection between the frame and the column should be firm and without shaking, and the appearance of the doors and windows should not have obvious, large-area scratches or other defects.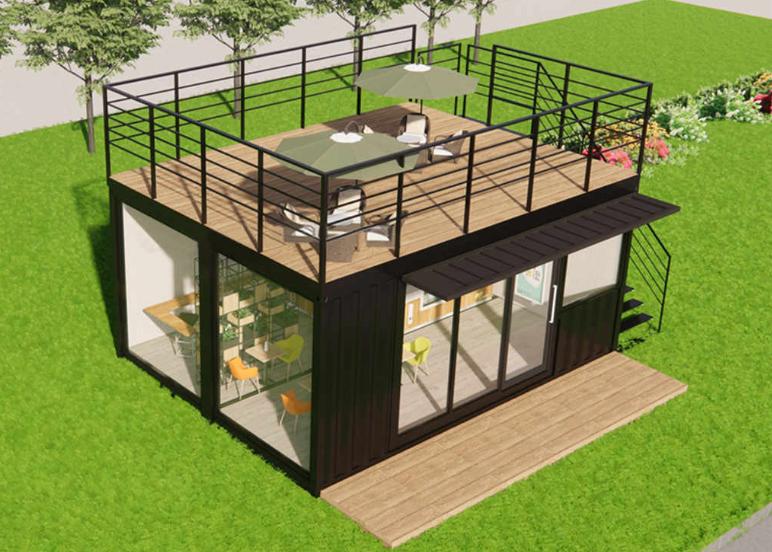
Specific installation process:
1. Pay out the line
According to the size of the drawing, use an ink fountain to pop up the installation position line of the board house on the foundation of the board house, and use a Pythagorean chord to draw a square. Use horizontal tubes to provide relative elevation points around the foundation. The number of marking points should be no less than 2 points on each ground beam.
2. Ground beam installation
Hang the ground beam on the foundation of the board house, and align the ground beam according to the installation position line of the board house. The allowable deviation between the ground beam and the axis position is 3mm. Align the ground beam elevation based on the given relative elevation around the foundation. When adjusting the elevation of the ground beam, the highest point foundation should be used as the benchmark and a horizontal ruler or variable ruler should be used.
3. Column installation
Lift the column to the installation position and erect it so that the card under the column is stuck on the bottom ring beam. The corner column, middle column and gable column are all welded and formed. The walkway bracket can be installed together with the column.
4. Floor installation
The floor slabs should be laid with dust. If there are cracks between the slabs, they are not allowed to be installed and used. The surface of cement or fine stone concrete should be compact and smooth, and defects such as cracks, peeling, and sanding are not allowed.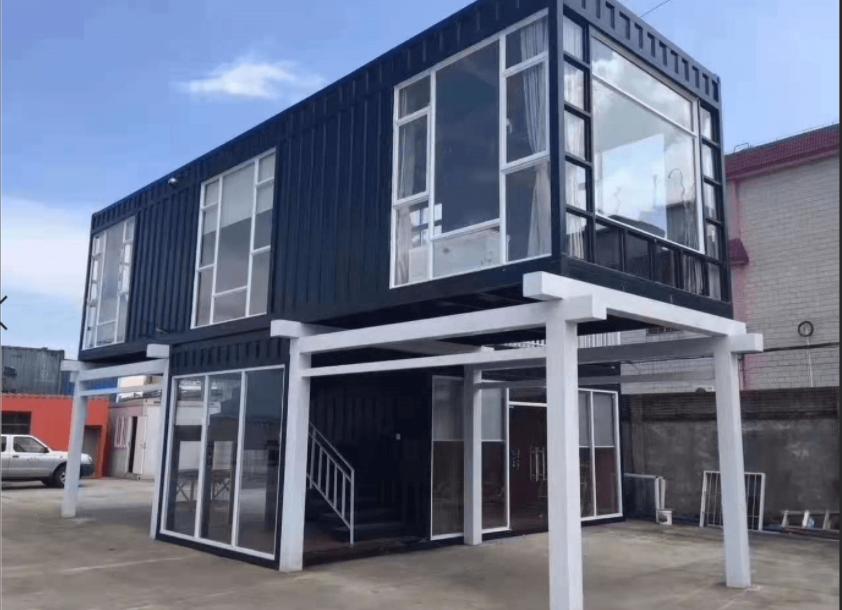
5. Wall installation
The first piece of the container office and wall must be calibrated according to the layout plan. The corners and sun corners of the umbrella wall must be sealed with angle aluminum. The connections between the boards must be I-beam aluminum connections. Each wall must be vertical and the depth of the caulking Consistent, neat and clean, the wall surface should be clean and consistent in color, the board seams should be neat, the nailing surface should be consistent up and down, and self-tapping bolts should be used in necessary parts. Mark the door and window positions of the container conference room according to the design drawings, use a cutting machine to cut out the door and window openings, install the windows and doors according to the door and window opening positions, and install the bottom ceiling of the container mobile room.
6. Window installation
Installation sequence: Install the window sill, lower closing window frame, install the window sash, install the window lock hook and apply glue. Draw the vertical centerline and horizontal centerline on the window opening. When installing, ensure that the centerline of the window frame coincides with the centerline drawn on the window opening. Place the window frame in the side groove of the column, and use a steel tape measure to measure the diagonal length of the inner corner of the window frame to make the two diagonal lengths equal. Adjust the window frame so that it is horizontally and vertically. Install window sashes and install window lock hooks. According to the position of the lock hook on the window sash, install the lock hook on the window cabinet. Make sure that the positions of the two lock hooks are consistent, the installation is firm, and the switch is flexible.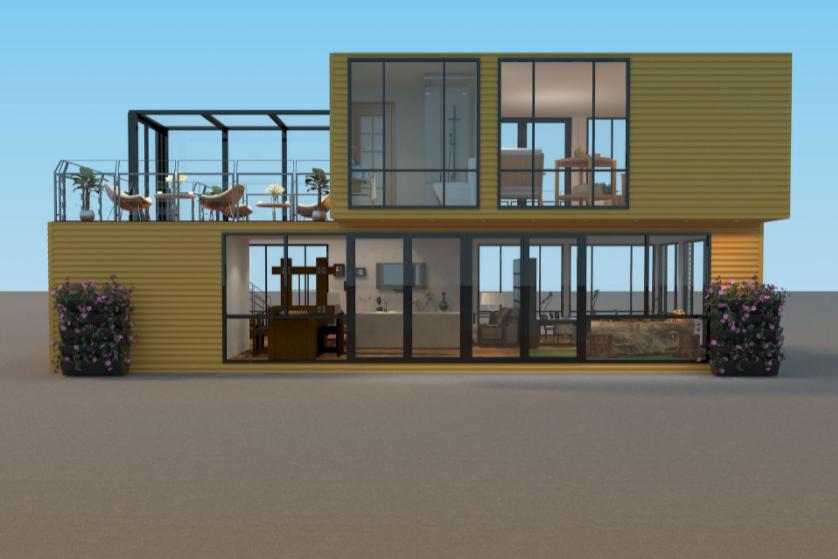
7. Door installation
Installation sequence: door frame, door handle, door headboard, door leaf (hinge), lock pin and glue. The door headboard is embedded between the door frame and the door handle, and is sealed with glass glue. Install the upper hinges on the frame according to the position of the upper hinges on the door leaf. Make sure that the frame and leaf hinges are in the same position. The upper and lower hinges are on the same axis. The frame and leaf hinges must not be used in reverse. Install the lock plate according to the door lock position on the door leaf, ensuring that the lock body tongue on the door and window matches the position of the lock plate on the door frame.
8. Installation of interior partition panels
Construction sequence: Lay out the wall position, install the inner partition wall, and apply glue to the inner partition glass door. Use the vertical line method to release the installation position line of the interior partition board. The allowable deviation between the installation of internal partition glass and the center displacement of the roof truss should be less than 2.0mm. When installing interior partition glass, install the interior partition glass from one side of the wall to the other side. Use a ruler board to check the verticality, straightness and misalignment of the interior wall panel. The gaps in the inner partition panels are sealed with glass glue, and the paint film damaged during transportation and installation is repainted.
By understanding these steps, I believe readers have fully mastered the basic knowledge of container house installation and can better understand its advantages and characteristics. In the future, as people’s demand for environmentally friendly, low-carbon, and fast construction continues to increase, container houses, as a new method of residential construction, will continue to be widely used and developed.
